I was asked recently by FunBites if I would be willing to review one of their cutters.
I’m pretty sure that I was the only blogger left in lunch land that didn’t already have one of these. So I think you know what my answer was.
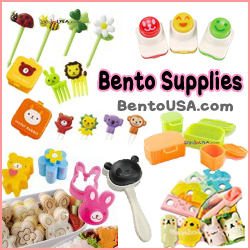
FunBites come in two styles: Cube It! which makes 12 square bite-sized pieces, and Luv It! which makes a geometric heart pattern and two smaller hearts.
I chose the Cube It!
Using FunBites is easy:
Step 1: Place FunBites cutter on top of food. Remove popper top and set to the side.
Step 2: Grab cutter handles on both sides, press down firmly and rock 5-6 times to cut through the food.
Step 3: Lift the cutter up, insert popper top and pop out the bite-sized pieces!
FunBites cutters can be used on sandwiches, fruit, veggies, pizza, burgers, tofu, omelets, cheese, pancakes, pretty much anything.
Seriously, these cutters are tough!
I wanted to do something a bit different with my FunBites Cutter so I used mine to make bite-sized butter cookies. The type of cookie really doesn’t matter here, just make sure your dough is nice and cold.
I like to roll mine out between two sheets of wax paper, so it doesn’t stick, lay it on a sheet pan, and then pop it into the freezer for 20-30 minutes.
Once the dough was chilled and firm, I used my FunBites cutter to cut out the dough squares:

Then I used the popper top to pop them out:

If your dough has chilled enough, you should get nice clean edges just like that up there. However, if your dough sat out for a bit due to… oh, I don’t know, kids who are on spring break and “need you” every two minutes – your dough might not come out so square. If that happens, just tap the edges down lightly with your finger. Easy peasy.
Cookies this size don’t need long to bake. Mine took between 5-7 minutes.
Ta Daaaa!

Cute right!?
Then I got to thinking about other things I could do with the FunBites Cube It!
I had a can of cinnamon rolls in the fridge – perfect! I rolled each of them out just a little and then used the Cube It! to cut little squares. These little cinnamon squares were a big hit with both of my kids. You can serve them with the glaze on the side for dipping as I did below or toss them with the glaze and let them set before you serve them.

I also made:

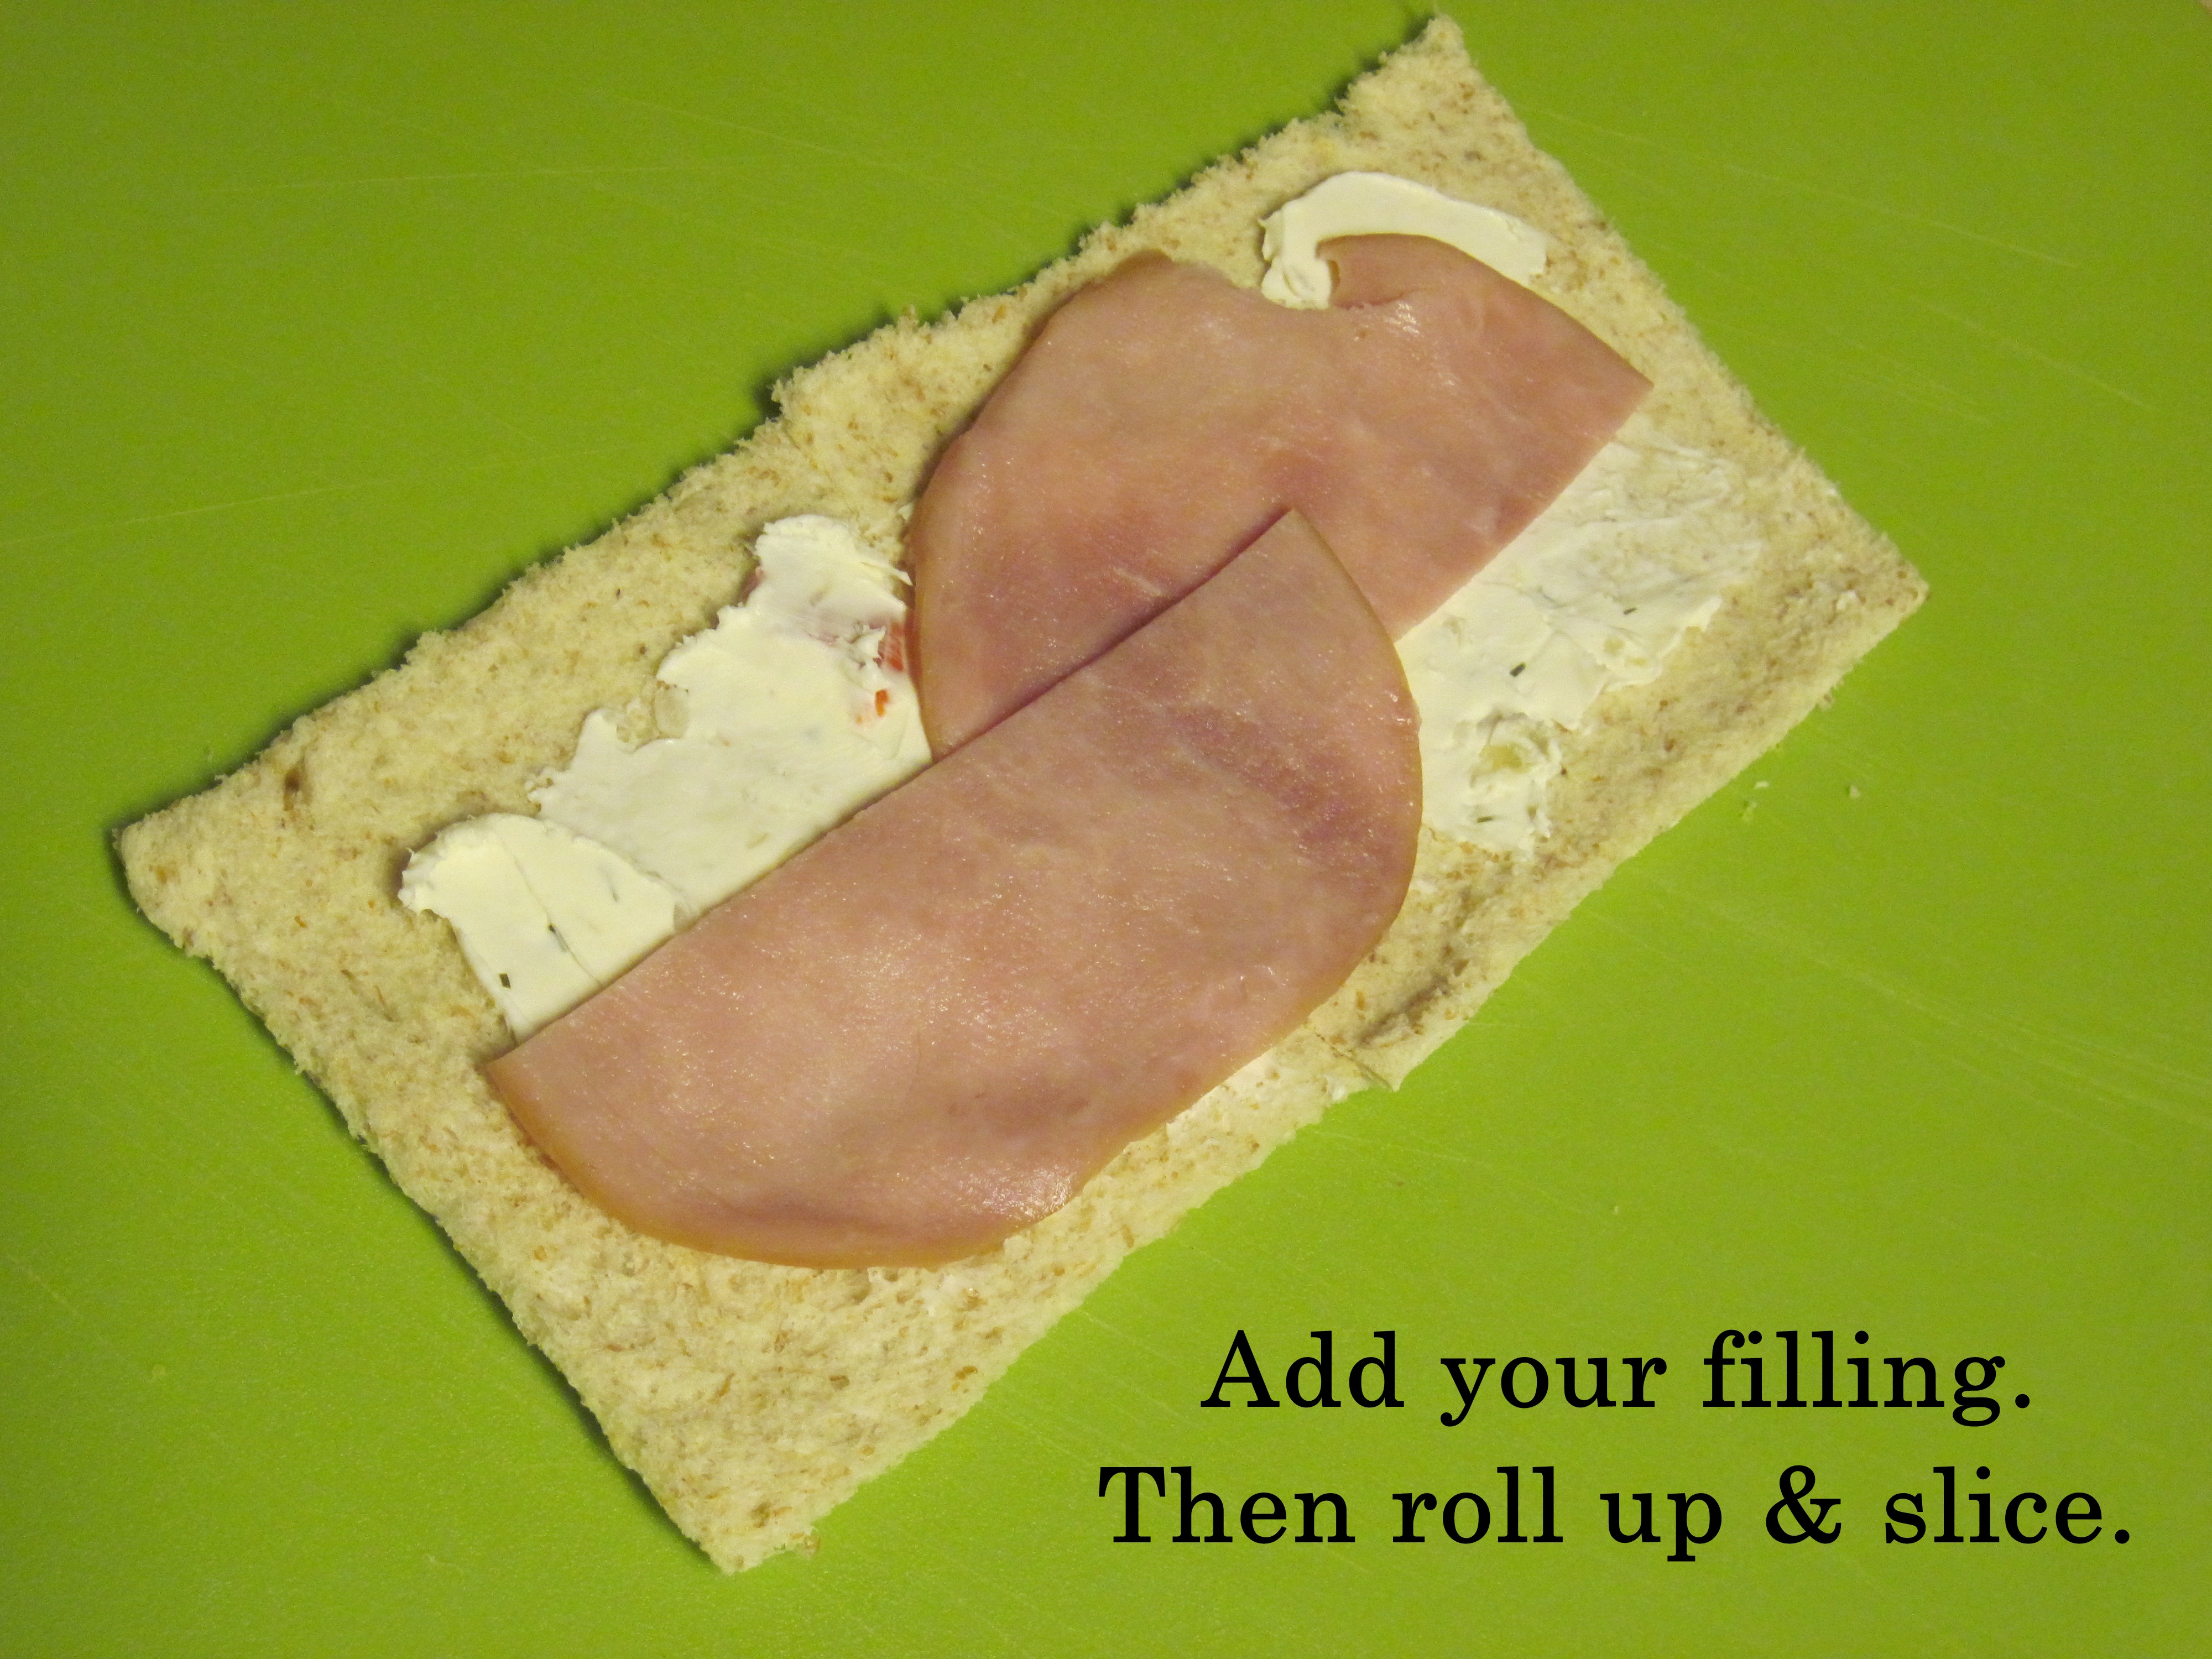
I just made a grilled cheese sandwich, let it cool for a few minutes so the cheese could set a bit, then cut it with my FunBites Cube It! I plopped a few on top of some veggie soup and it was lunch. If you like your grilled cheese to stay more crisp, just serve them alongside the soup rather than in it. Or serve it on a skewer with some lunch meat and/or a tomato in between for dipping, Yum.
And lastly…

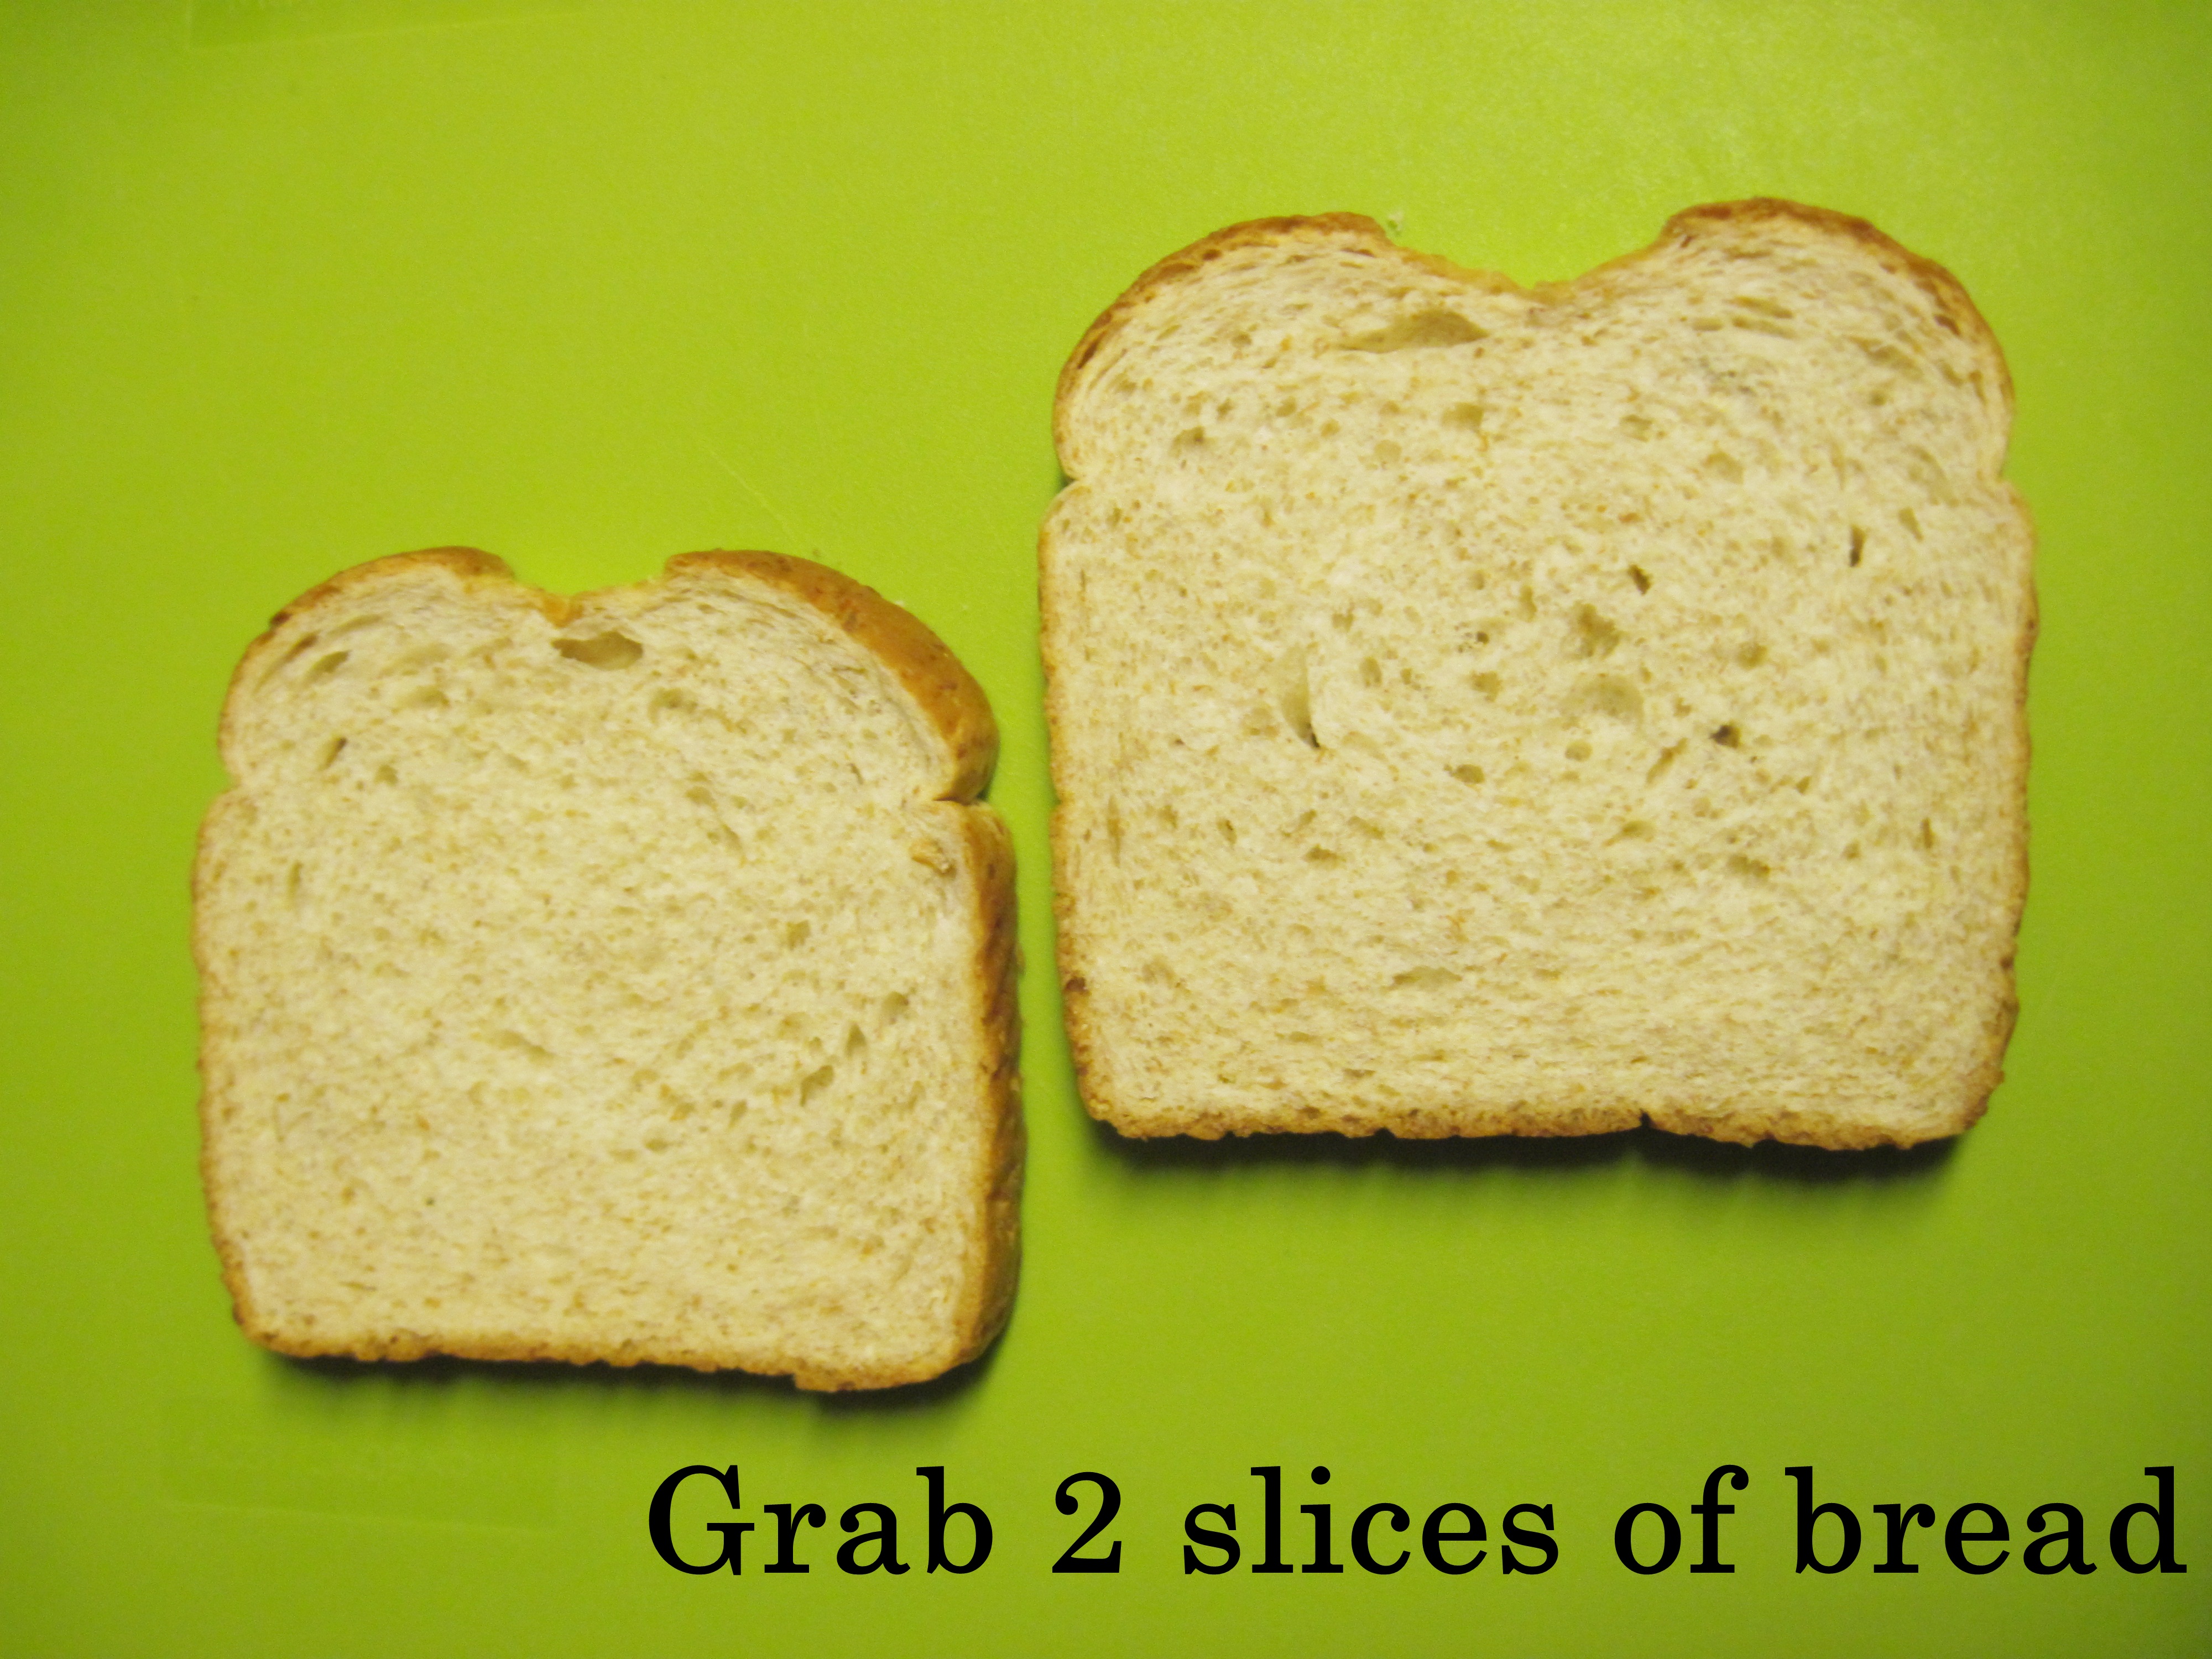
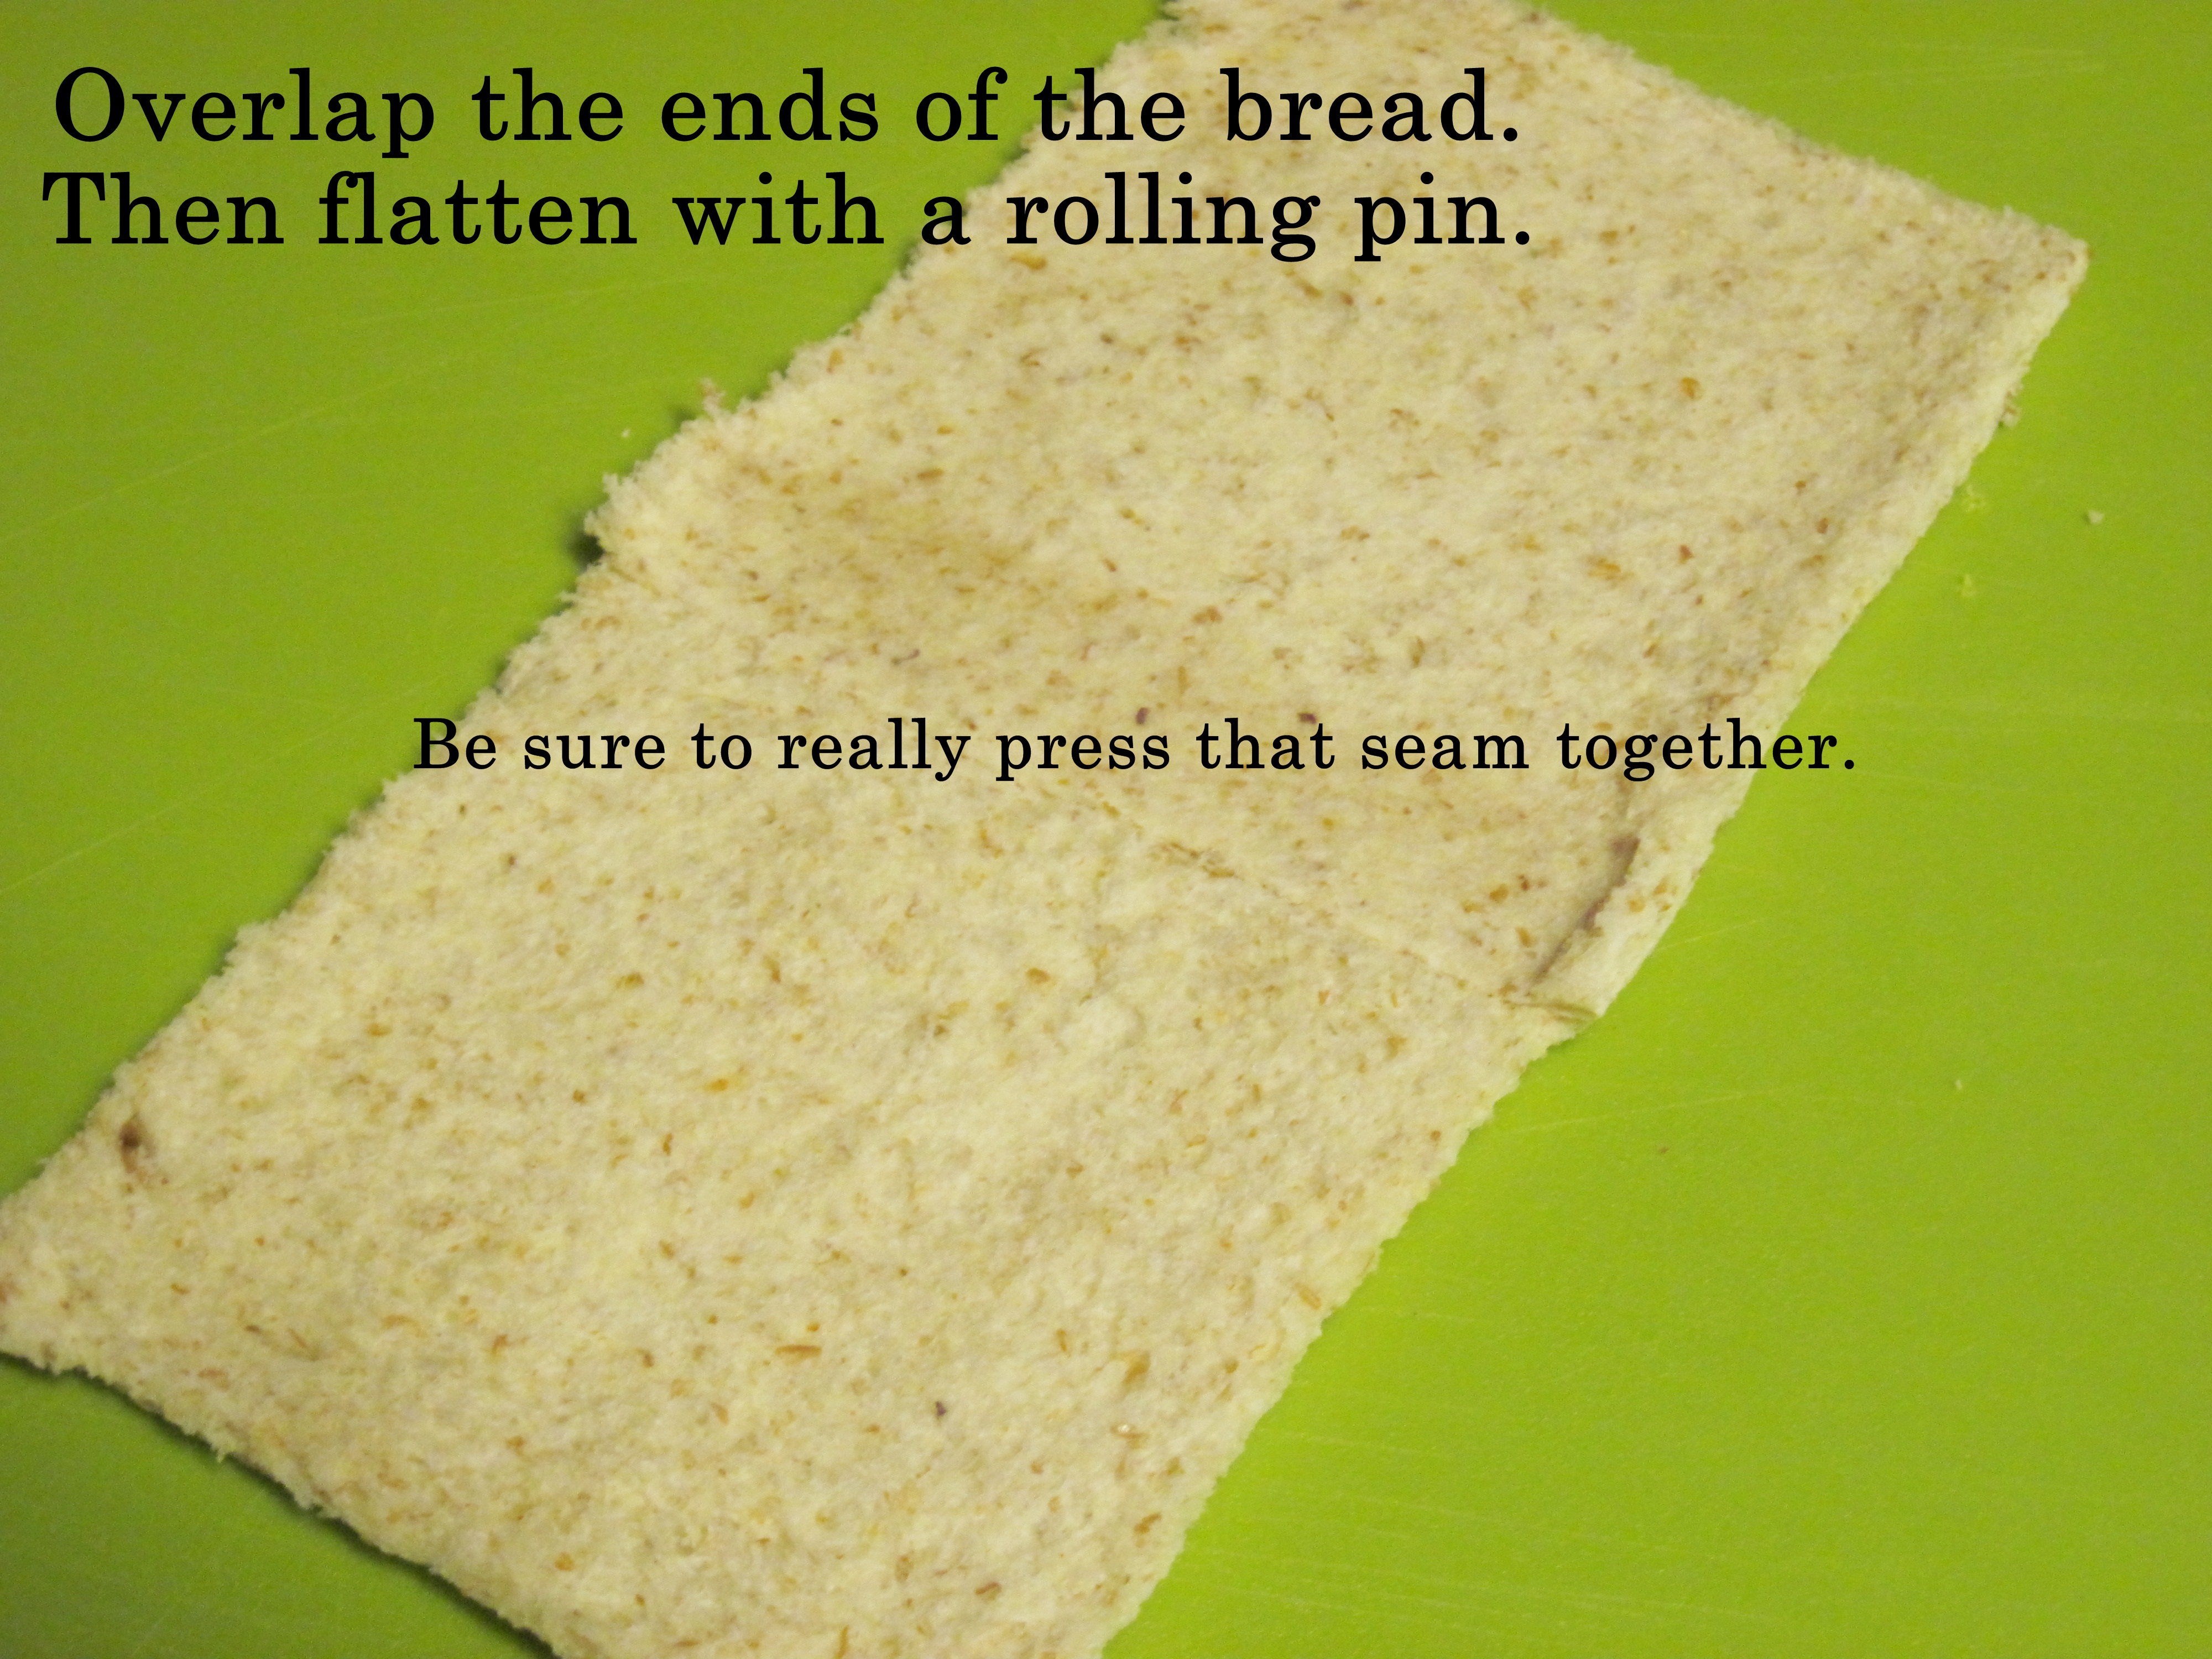
If you’re buying croutons you need to stop it! It’s way too easy (not to mention cheaper) to make them yourself. They taste better too. I use whatever bread we have lying around, this is actually whole wheat sandwich bread. I cut the bread with my Cube It! then I tossed it in a bit of extra virgin olive oil, sea salt, garlic powder, and Italian seasoning. Then I toasted it on a sheet pan in a 300 degree oven for a few minutes until toasty.
After using the FunBites Cube It! for a couple of days, I can see where you could literally use it for every meal. I used it for breakfast, lunch, snack, and even a sweet treat but you could also use it to make bite-sized appetizers or to cut food into a safer size for little ones.
FunBites are:
- Sturdy
- Easy to use
- Fun
- BPA free
- Made in the USA
- Dishwasher safe
If you want to learn more about FunBites, or if you want one for yourself, you can visit their website: www.funbites.com.
Or…
Enter my giveaway and win one!
To enter:
1st: Like FunBites on facebook: facebook.com/FunBites
2nd: Like WSBFL on facebook: facebook.com/WeShouldBeFoldingLaundry
3rd: Tell me in the comments section below which FunBites cutter you would choose if you won, Cube It! or Luv It!
**Rules & other super important info**
You must complete all 3 steps to win!
The winner will be selected by Random.org on April 4th, at noon and notified by email. Winner has 48 hours to respond. If I don’t receive a response from the original winner within 48 hours, I will choose another winner via Random.org.
This FunBites giveaway is open to all residents of the US & Canada.
Disclosure: I received a FunBites Cube It! cutter to review. No other compensation was provided by FunBites. All photos are the property of WSBFL and opinions given in this review are solely my own.
* This giveaway is now closed.
Tags: cookies, easy, fruit, Funbites, snacks, soup, veggies


.jpg)


